
When I visited a 5,000-head dairy farm in Southeast Asia last year, the owner told me something I have heard a hundred times: “My manure pile smells terrible, it attracts flies, and after six months it still isn’t finished compost.” He was not doing anything obviously wrong. He was just missing the four numbers that actually decide whether composting works.
After more than a decade of building composting lines and organic fertilizer plants across different climates, I have come to a simple conclusion: composting is not piling waste and waiting. It is managing four variables—carbon-to-nitrogen ratio, moisture, oxygen, and temperature—and the composting process for organic fertilizer is just the act of keeping those four variables inside a narrow window for a few weeks.
In this guide, I will walk you through the exact process we use in real projects, the mistakes I see most often, and how to decide whether you need equipment or not.
1. What Is Composting, Really?
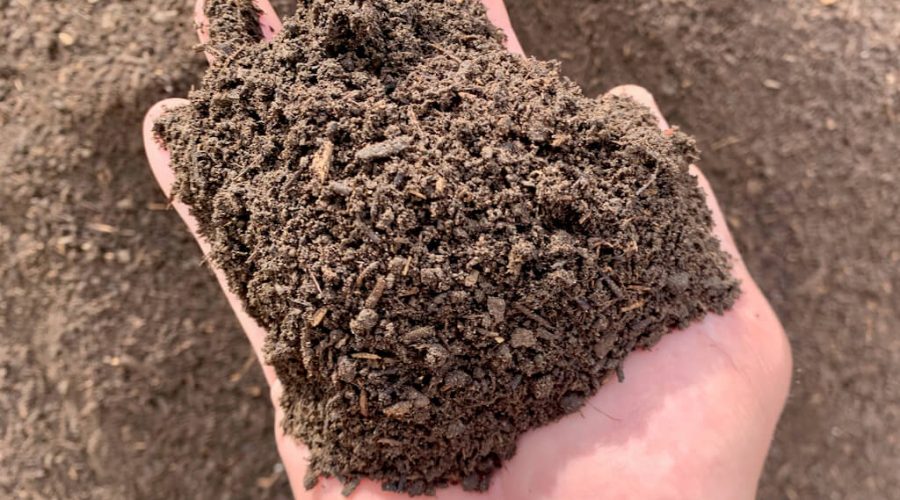
Composting is the controlled aerobic decomposition of organic matter by microorganisms. Bacteria, actinomycetes, and fungi break down carbon-rich (“brown”) and nitrogen-rich (“green”) materials, generating heat as a byproduct. That heat—reaching 55–70°C in a well-managed pile—is what kills pathogens and weed seeds and transforms raw manure or crop waste into stable, odor-free humus.
The end product is compost: a dark, crumbly, earthy-smelling material that, when further processed (screening, granulation, blending with functional bacteria), becomes commercial organic fertilizer.
2. The Four Numbers That Decide Everything
Before the step-by-step process, memorize these. I have seen projects succeed or fail based on nothing more than these four values:
| Variable | Target Range | What Happens If Wrong |
|---|---|---|
| C/N ratio | 25–30:1 | Too high C: slow, cold pile. Too high N: ammonia smell |
| Moisture | 50–60% | Below 40%: microbes sleep. Above 65%: anaerobic, smelly |
| Temperature | 55–70°C (thermophilic phase) | Below 55°C: pathogens survive. Above 75°C: beneficial microbes die |
| Oxygen | 5–15% in pore air | Anaerobic pockets = foul odors and slow decomposition |
My practical moisture test: grab a handful of mixed material and squeeze it. It should feel like a damp sponge—moist, with at most one or two drops of water. If water streams out, add dry carbon material like straw or sawdust. If it crumbles apart, spray water while mixing.
3. The Composting Process, Step by Step
Step 1: Raw Material Collection and Pre-Crushing
Collect your organic waste—livestock manure, crop straw, mushroom residue, food waste, or sludge—and remove plastic, stones, and metal. Then crush it.
I cannot stress this enough: particle size controls speed. Large chunks have small surface area relative to volume, so microbes cannot colonize them efficiently. In our projects, we crush straw and fibrous material to under 3–5 cm using a semi-wet material crusher before anything else. This single step often shortens the whole composting cycle by one to two weeks.
Step 2: Blending to the Right C/N Ratio
Few raw materials arrive at the perfect 25–30:1 ratio on their own:
High-nitrogen materials: chicken manure, pig manure, fresh grass clippings, food waste (roughly 10–15:1)
High-carbon materials: wheat straw, corn stalks, sawdust, dried leaves (roughly 60–100:1)
A rule of thumb we use on farms: mix roughly 3 parts carbon material to 1 part fresh poultry manure by volume, then adjust based on smell and temperature response. Too much nitrogen and the pile releases ammonia within 48 hours—your nose will tell you before any meter does.

Step 3: Inoculation and Moisture Adjustment
Add a commercial compost starter (EM bacteria or thermophilic inoculants) at 0.1–0.3% by weight. Inoculants are not magic, but they shorten the lag phase significantly, especially on first batches where the native microbial population is weak.
Then bring moisture to 50–60%. Add water during mixing, not on top of the pile—water applied to the surface evaporates and never reaches the core.
Step 4: Pile Building and the Thermophilic Phase
Form windrows (trapezoidal piles on flat ground) with a height of 1.2–1.8 m and a width of 2–3 m. This geometry retains heat in the core while leaving enough surface for gas exchange.
Within 24–72 hours, the pile should climb past 55°C. Hold it in the 55–70°C window for at least 3–5 consecutive days—this is the pathogen-killing phase. In commercial operations, we log temperature daily at three depths (20 cm, 60 cm, core). If the core exceeds 70–75°C, turn immediately: excessive heat sterilizes the beneficial microbes you are relying on.
Step 5: Turning According to Temperature, Not the Calendar
This is where most small farmers go wrong. Turning frequency follows the temperature curve, not a fixed schedule:
- Rising phase (below 55°C): turn once a day to push oxygen in and build heat fast
- Thermophilic phase (55–70°C): turn every 2–3 days; immediately if above 75°C
- Falling phase (temperature no longer recovers after turning): extend to every 5–7 days—the material is nearing maturity
One practical note from cold-climate projects: when ambient temperature drops below 10°C, frequent turning bleeds heat from the pile. Reduce turning frequency and, for enclosed systems, pre-heat the inlet air.
Step 6: Curing and Maturity Testing
When the pile no longer reheats after turning and the material is dark, crumbly, and smells like forest soil, the active phase is done. Let it cure for 2–4 more weeks. Curing stabilizes the humus and lets the microbial community shift back to beneficial fungi and actinomycetes.
Two quick maturity tests I use in the field:
- The germination test: sow cress or radish seeds in a 1:1 mix of compost and soil. Germination above 90% of the control means the compost is mature. Poor germination usually means residual ammonia or organic acids—incomplete compost.
- The bag test: seal a sample in a plastic bag for 48 hours. Condensation plus a sour smell means it is still active; compost it longer before selling or applying.
Step 7: Post-Processing into Commercial Organic Fertilizer
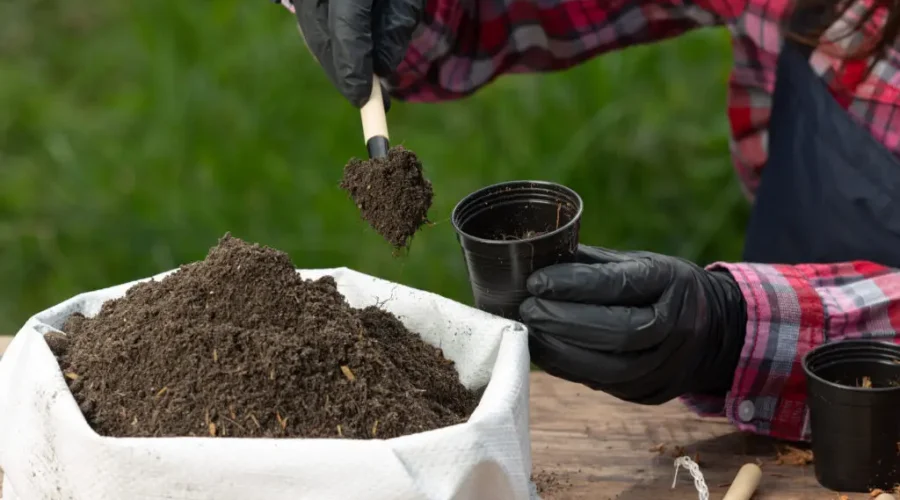
Raw compost is a great soil amendment, but commercial organic fertilizer requires further processing: screening out oversize particles, crushing lumps, optional blending with functional bacteria (to make bio-organic fertilizer), and granulation. A typical line runs: crusher → mixer → granulator → dryer → cooler → screener → packaging scale. The composting stage remains the quality foundation—no granulator can fix badly composted material.
4. Common Mistakes I See in Real Projects
- Piles that are too small. Anything under 1 m³ cannot hold thermophilic temperatures. Volume is your free insulation.
- Ignoring the C/N ratio and blaming the inoculant. If the ratio is wrong, no bacteria will save you.
- Turning with a loader instead of a compost turner. A front loader flattens the pile structure, crushing pore spaces and pushing it anaerobic. A purpose-built windrow turner lifts, aerates, and re-forms the pile in one pass.
- Selling immature compost. It will heat up in the bag, mold, and damage crops—and your reputation.
5. How to Choose Your Composting Method
The right method depends on scale, climate, and budget:
- Windrow composting with a towable/crawler compost turner: best cost-to-capacity ratio for farms and mid-size plants. Typical cycle: 30–60 days.
- Groove-type composting: higher throughput, lower labor, requires civil works (fermentation grooves).
- In-vessel fermentation tanks: sealed stainless-steel systems with PLC temperature and aeration control. They complete fermentation in 7–15 days, solve odor problems with built-in deodorization, work in winter, and fit in 30–100 m²—at a higher upfront cost.
If you are processing under 500 tons per year, windrows are usually enough. Above that, or if you are near residential areas where odor complaints are a real risk, mechanized or in-vessel systems pay back quickly in labor, time, and compliance.
FAQ: Composting Process for Organic Fertilizer
1. How long does the composting process for organic fertilizer take?
With proper management, 30–60 days using windrow composting, 15–30 days with enhanced methods like nano-membrane covering, and 7–15 days with an in-vessel fermentation tank.
2. What is the ideal C/N ratio for composting organic fertilizer?
25–30:1. Blend high-carbon materials (straw, sawdust) with high-nitrogen materials (manure, food waste) to reach it.
3. What temperature should a compost pile reach?
55–70°C during the thermophilic phase. This range kills most pathogens and weed seeds. Avoid exceeding 75°C, which harms beneficial microbes.
4. How often should I turn my compost pile?
Follow the temperature: daily during the rising phase, every 2–3 days above 55°C, and every 5–7 days as the pile cools. Reduce frequency in cold weather.
5. What moisture level is best for composting?
50–60%. The squeeze test is reliable: damp like a wrung-out sponge, with no free water dripping out.
6. Why does my compost pile smell like ammonia?
Excess nitrogen relative to carbon. Mix in carbon-rich materials like straw or sawdust and turn the pile to release the ammonia gas.
7. Can I compost chicken manure directly on crops?
No. Fresh chicken manure is too “hot” in nitrogen and contains pathogens. It must be fully composted and cured first.
8. How do I know when compost is finished and safe to use?
It no longer reheats after turning, smells earthy, is dark and crumbly, and passes a seed germination test (90%+ germination compared with control soil).
9. What equipment is essential for a small organic fertilizer composting operation?
At minimum: a raw material crusher and a compost turner. Screening and granulation equipment comes later if you move into commercial fertilizer production.
10. What is the difference between compost and organic fertilizer?
Compost is the decomposed organic matter itself. Organic fertilizer is compost that has been processed, quality-controlled, sometimes blended with functional microbes, and granulated for commercial sale.
11. Does composting work in winter or cold climates?
Yes, but slower. Larger piles, reduced turning frequency, or a sealed fermentation tank with insulation and heated air intake are recommended below 10°C ambient.
12. How much does it cost to set up an organic fertilizer composting line?
It ranges from a few thousand dollars for a crusher and small compost turner to six figures for a full automated line with granulation. The right configuration depends on your raw materials and capacity—contact us for a free quote.
Ready to Build Your Organic Fertilizer Composting Line?
Whether you are a farm owner drowning in manure or an investor planning a commercial organic fertilizer plant, the right equipment and process design make the difference between a smelly liability and a sellable product. At Huaxin, we design and supply complete composting and organic fertilizer production lines—from crushers and compost turners to fermentation tanks, granulators, and packaging machines—customized to your raw materials, capacity, and local regulations.
Contact Huaxin today for a free process consultation and equipment quotation. Send us your raw material type, daily volume, and budget, and our engineers will return a tailored solution within 24 hours.


